Swipe gestures are a handy way to add actions to a ListView in Flutter. In this tutorial, we are going to implement
two swipe actions – swipe to delete and toggle favorite – and have a look at using a Snackbar for adding
an undo action.
Goal of this Tutorial
We are going to implement a simple app displaying a list of ice cream flavors. By swiping a list element to the right, we will add or remove the flavor as a favorite flavor.
Swiping to the left will be a swipe-to-delete action and removes the element from the list. In this case, a
Snackbar is shown offering to undo the delete action.
The code for this tutorial is available on GitHub.
Prerequisite
First, we start by creating a new Flutter app and clean up the generated project code. For this tutorial we do not
need any dependencies, so my pubspec.yaml looks like this:
| |
Next, we clean up our main.dart. We remove most of the boilerplate code, which leaves us with the following code:
| |
Finally, we create a new file called list_page.dart and add a StatefulWidget called ListPage. We set up a basic
Scaffold with and AppBar like this:
| |
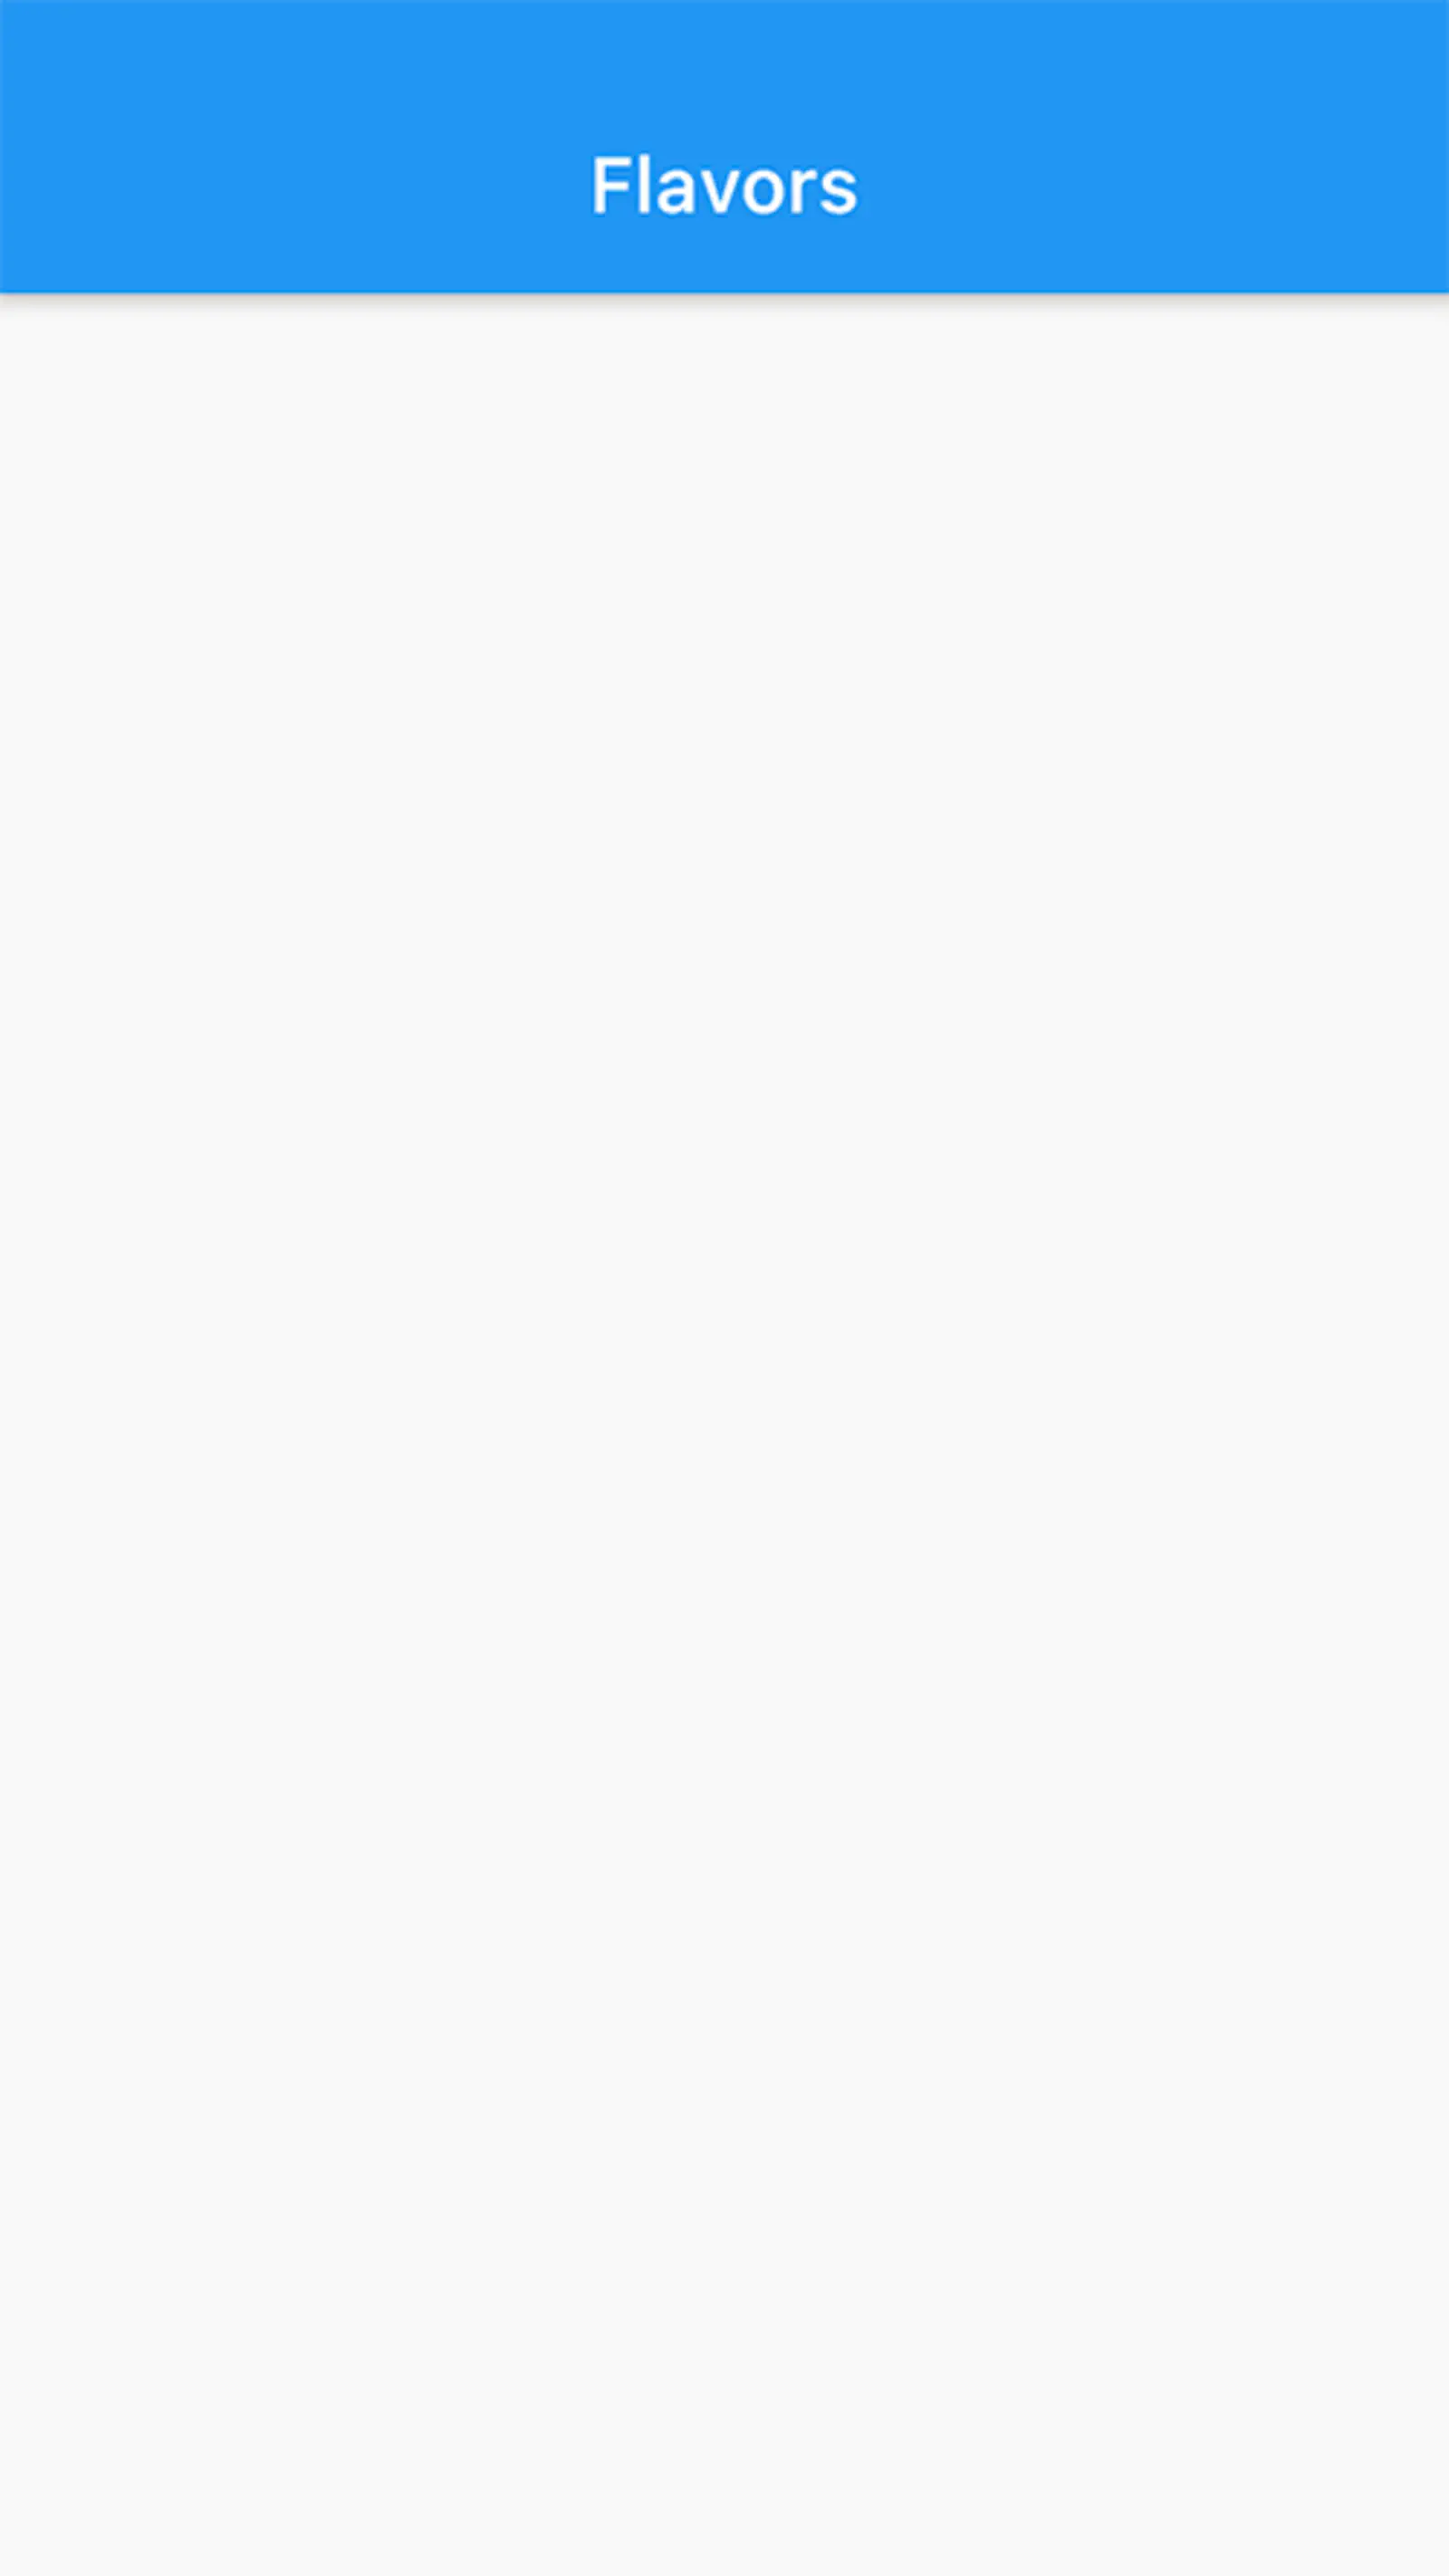
Now, when we build our app it should look like this:
Displaying a list of flavors
To have some content that we can display in our list, we continue by creating a new file called flavor.dart and
add a simple class holding all information we need to know about an ice cream flavor.
Every flavor has a name of type String and an attribute isFavorite which is a bool and is false by default.
This is our Flavor class:
| |
You can see that I have also added a copyWith function. Since our Flavor is immutable – all its attributes are
final, thus unchangeable – this function helps us to create a new version of a Flavor with adjusted attributes. We
will use this function later to toggle the isFavorite flag of the Flavors.
Next, we go back to flavor_list.dart and add a list of Flavors to _ListPageState.
| |
To display our Flavors, we use a ListView. We use the builder factory to create a performance optimized
ListView. Using the builder factory, only elements are generated that are currently displayed on the screen.
Elements that do not fit on the screen are only created on demand.
Let’s look at the build function of _ListPageState:
| |
We specify the number of flavors that are available using the itemCount attribute and define how the ListView should
build the list items by implementing the itemBuilder callback.
For every item, we fetch the corresponding flavor (line 10) and then use a ListTile to display the name of the
Flavor.
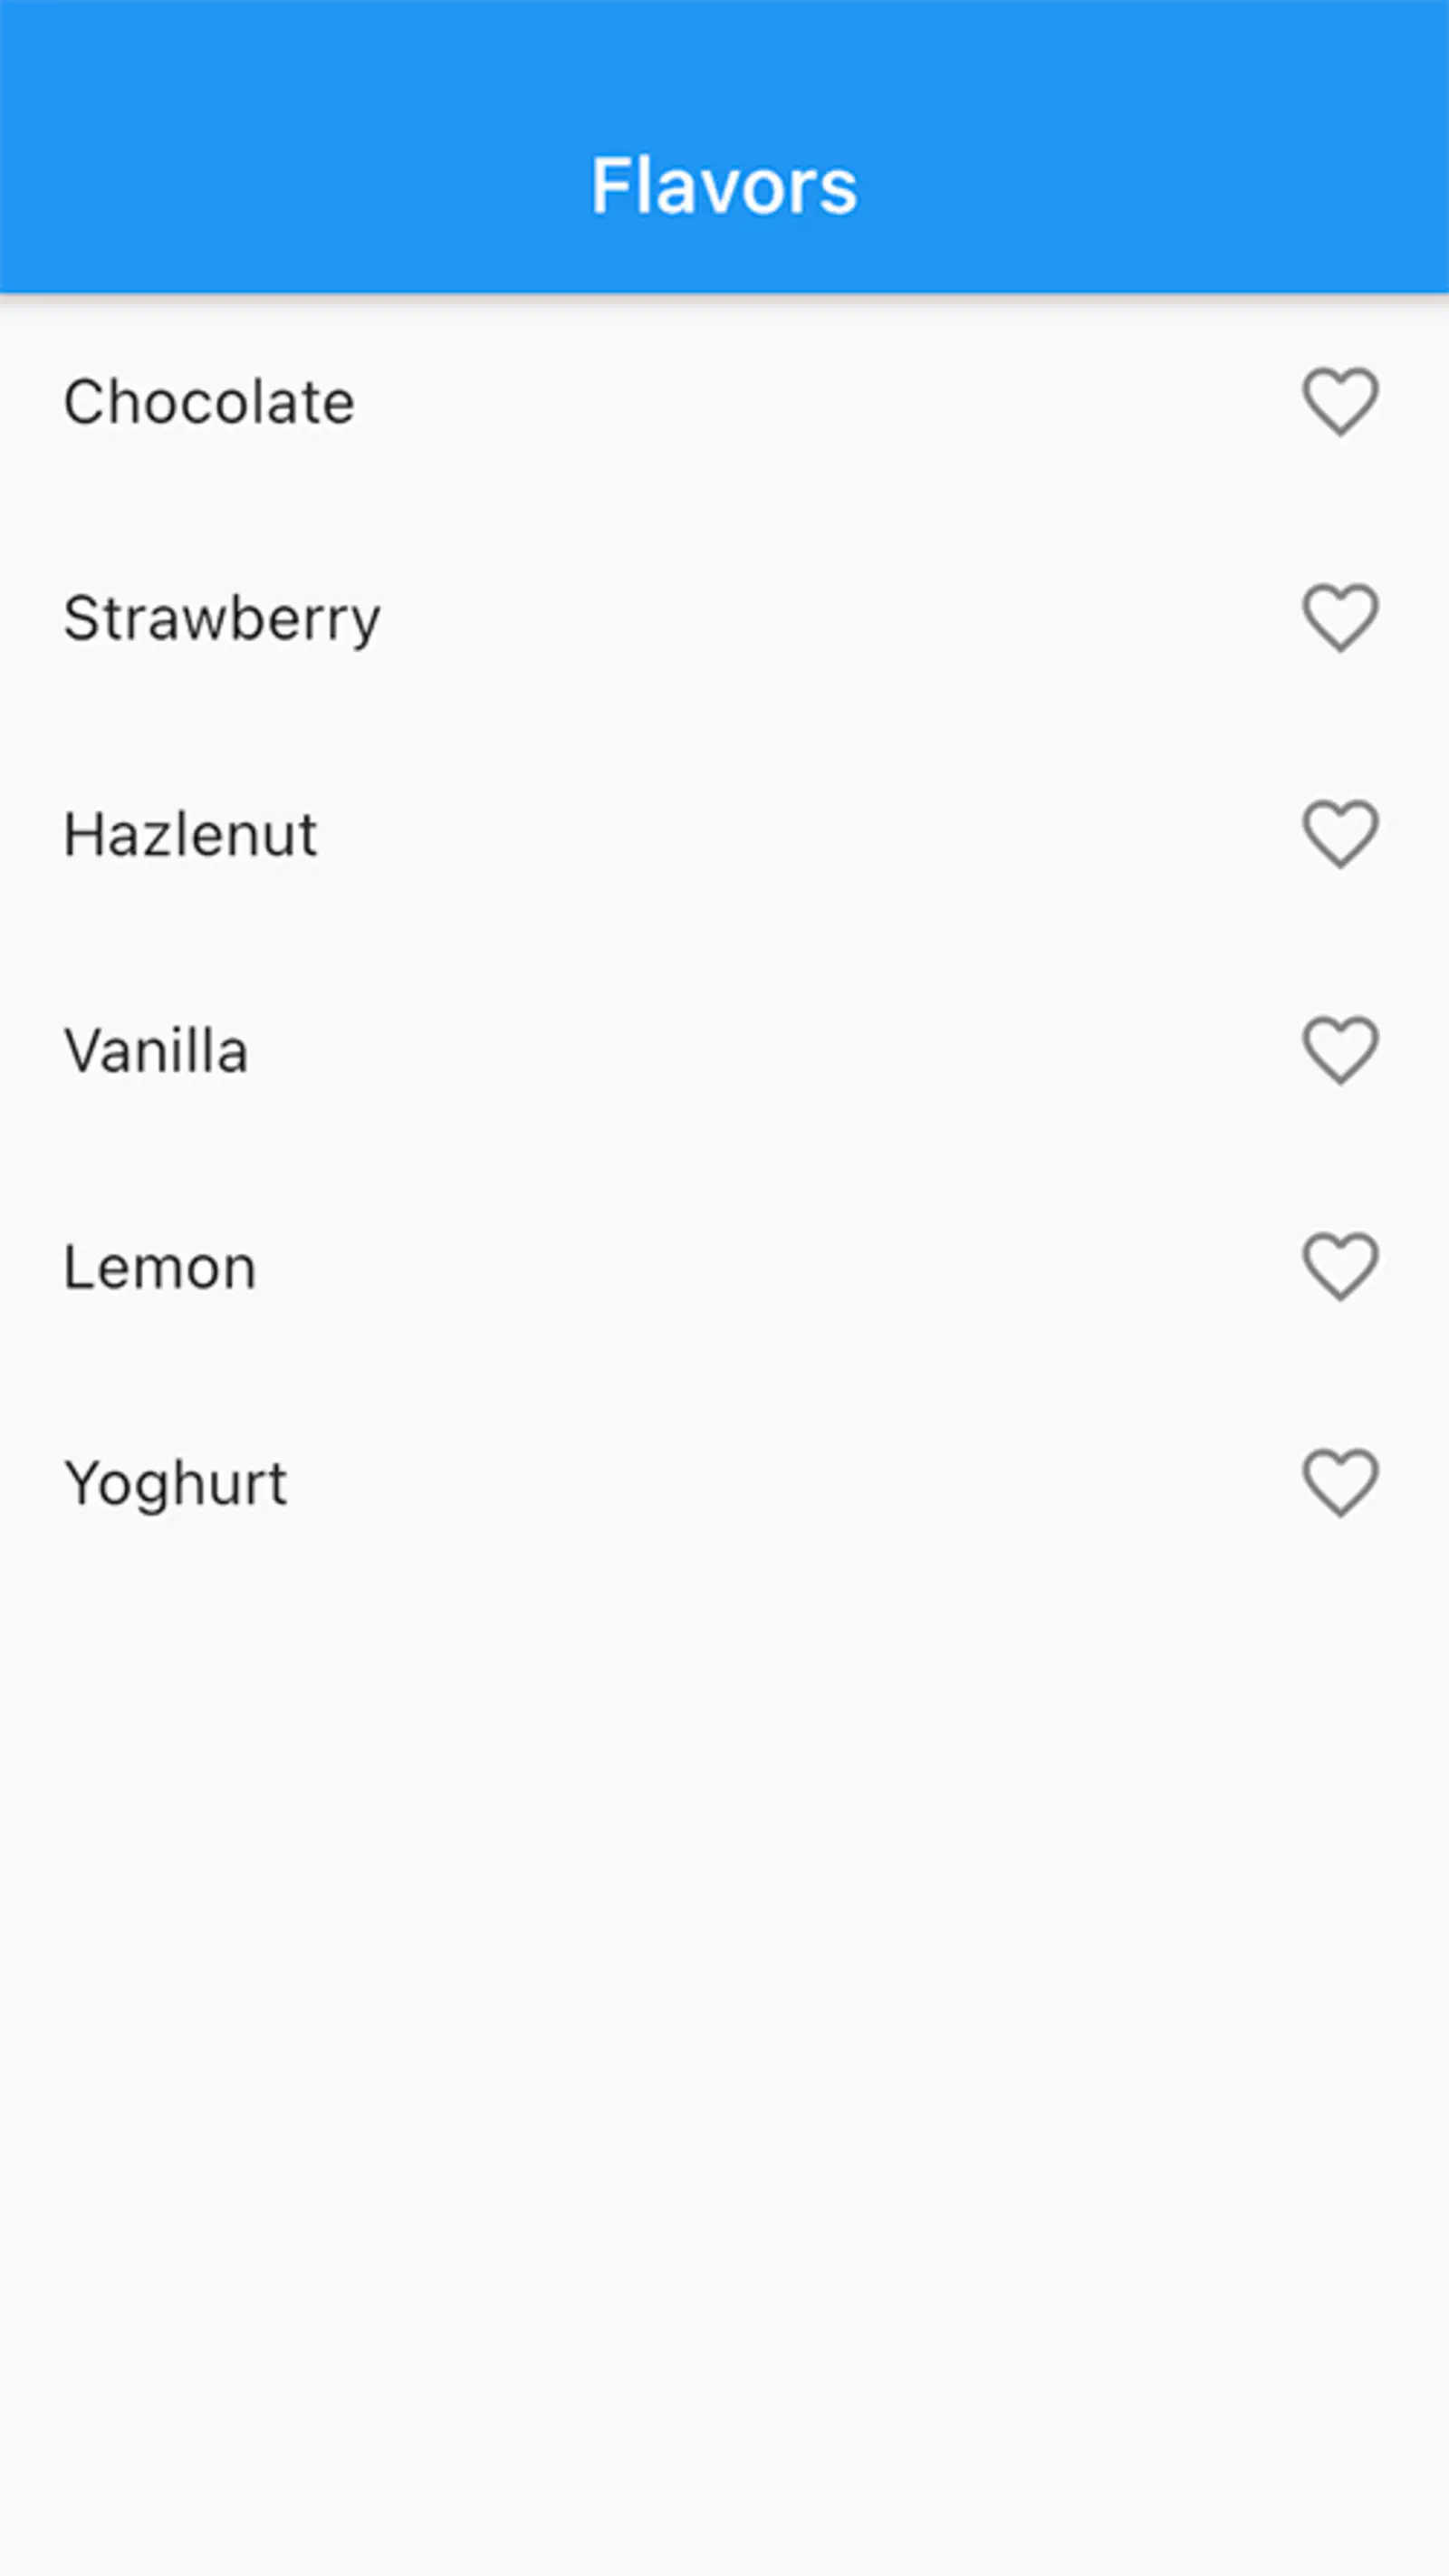
Next we add an icon to each ListTile indicating whether the Flavor is a favorite or not. For this, we add the
following line to the ListTile:
| |
Now, let’s have a look at our app again.
Swipe Action: Toggle Favorite
Next, we add a swipe action to toggle the favorite state of a flavor. For this, we wrap the ListTile in a
Dismissible widget. A Dismissible requires to have a Key, so we add it like this:
| |
Now you can see that you are able to move your ListTiles.
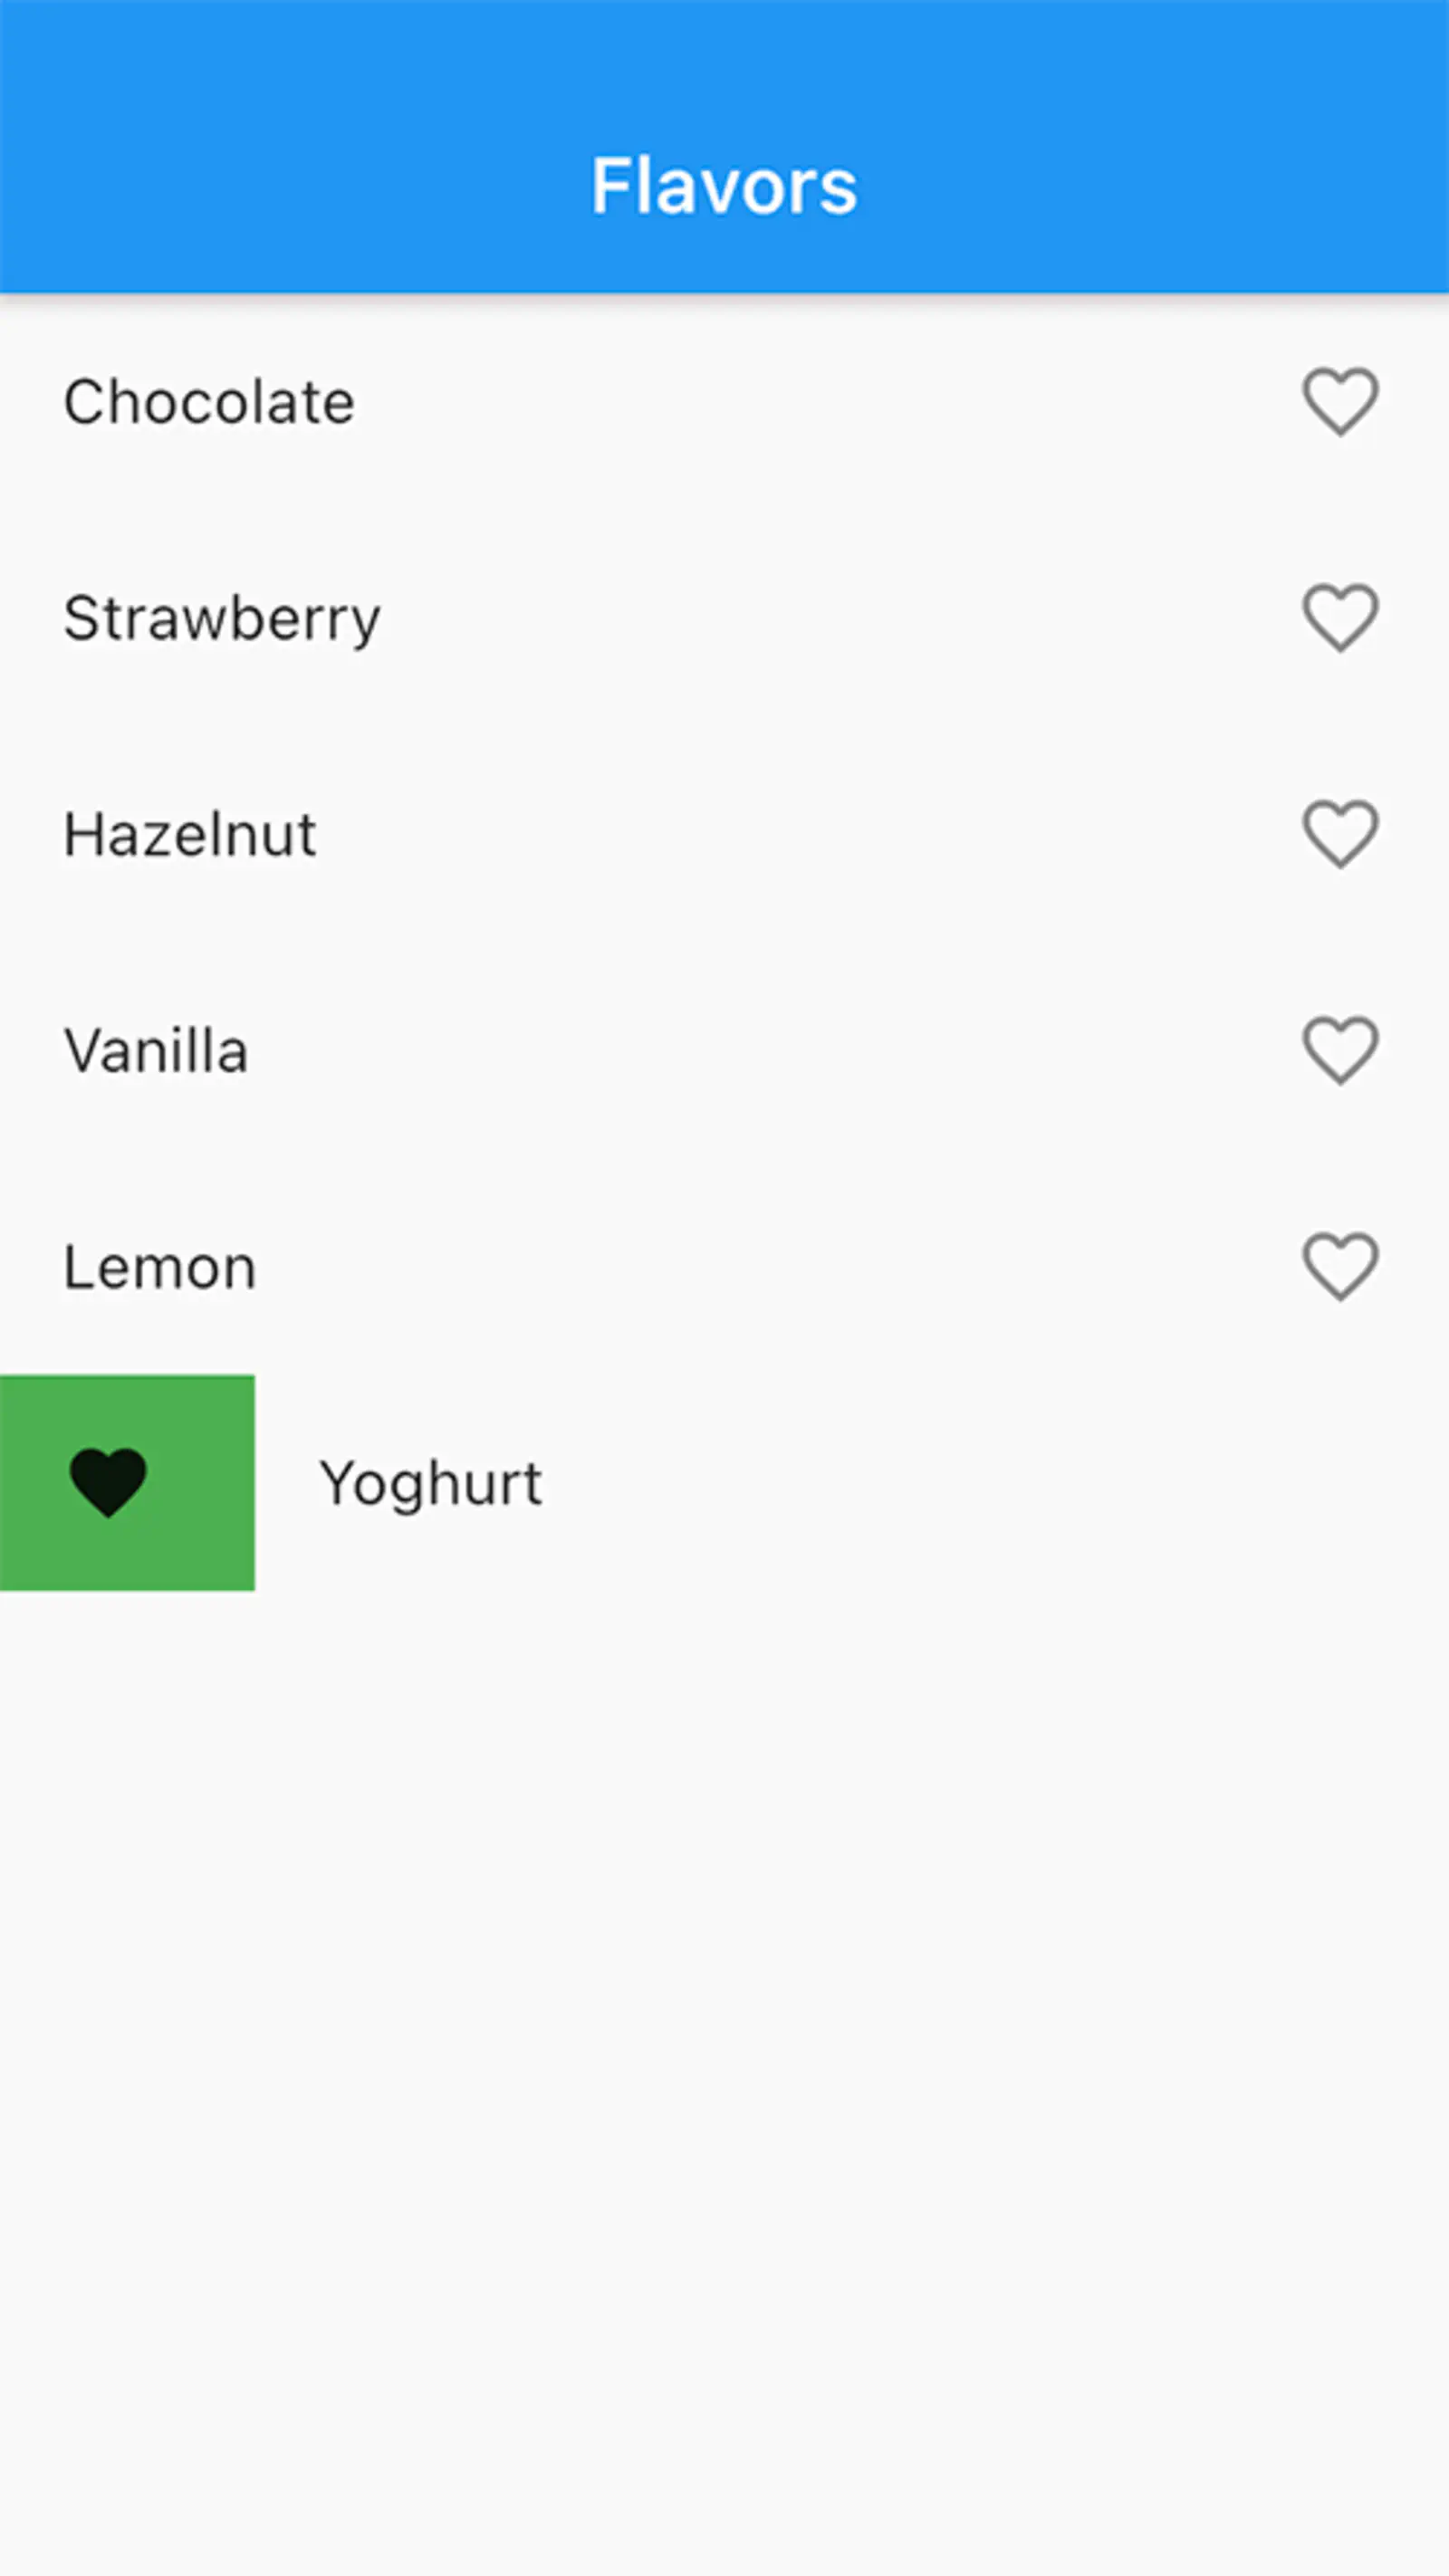
To give the user a hint about the action that is going to happen, we add a background attribute to the
Dismissible widget.
| |
When swiping an item to the right, we see a green background with a favorite icon.
Finally, there are two things left to do: First, we need to prevent the item from being removed from the list when it is swiped to the right. Second, we need to add an action to the swipe gesture.
To keep the item in the list, we need to implement the confirmDismiss callback of Dismissible. It provides us the
direction in which the item has been swiped and requires us to return true if the item should be deleted. We also
use this callback to add an action to the swipe gesture.
| |
Now, when swiping from start to end – left to right in our case – we update the state of our ListPage. We do this by
calling the setState function and replacing the Flavor at position index with a copy with inverted isFavorite
flag.
We return false to signal that we do not want our item removed from the list.
Swipe Action: Swipe to delete
Now, we want to add a second action: the item should be deleted when it is swiped to the left side. Additionally, we want to add a different background for this action.
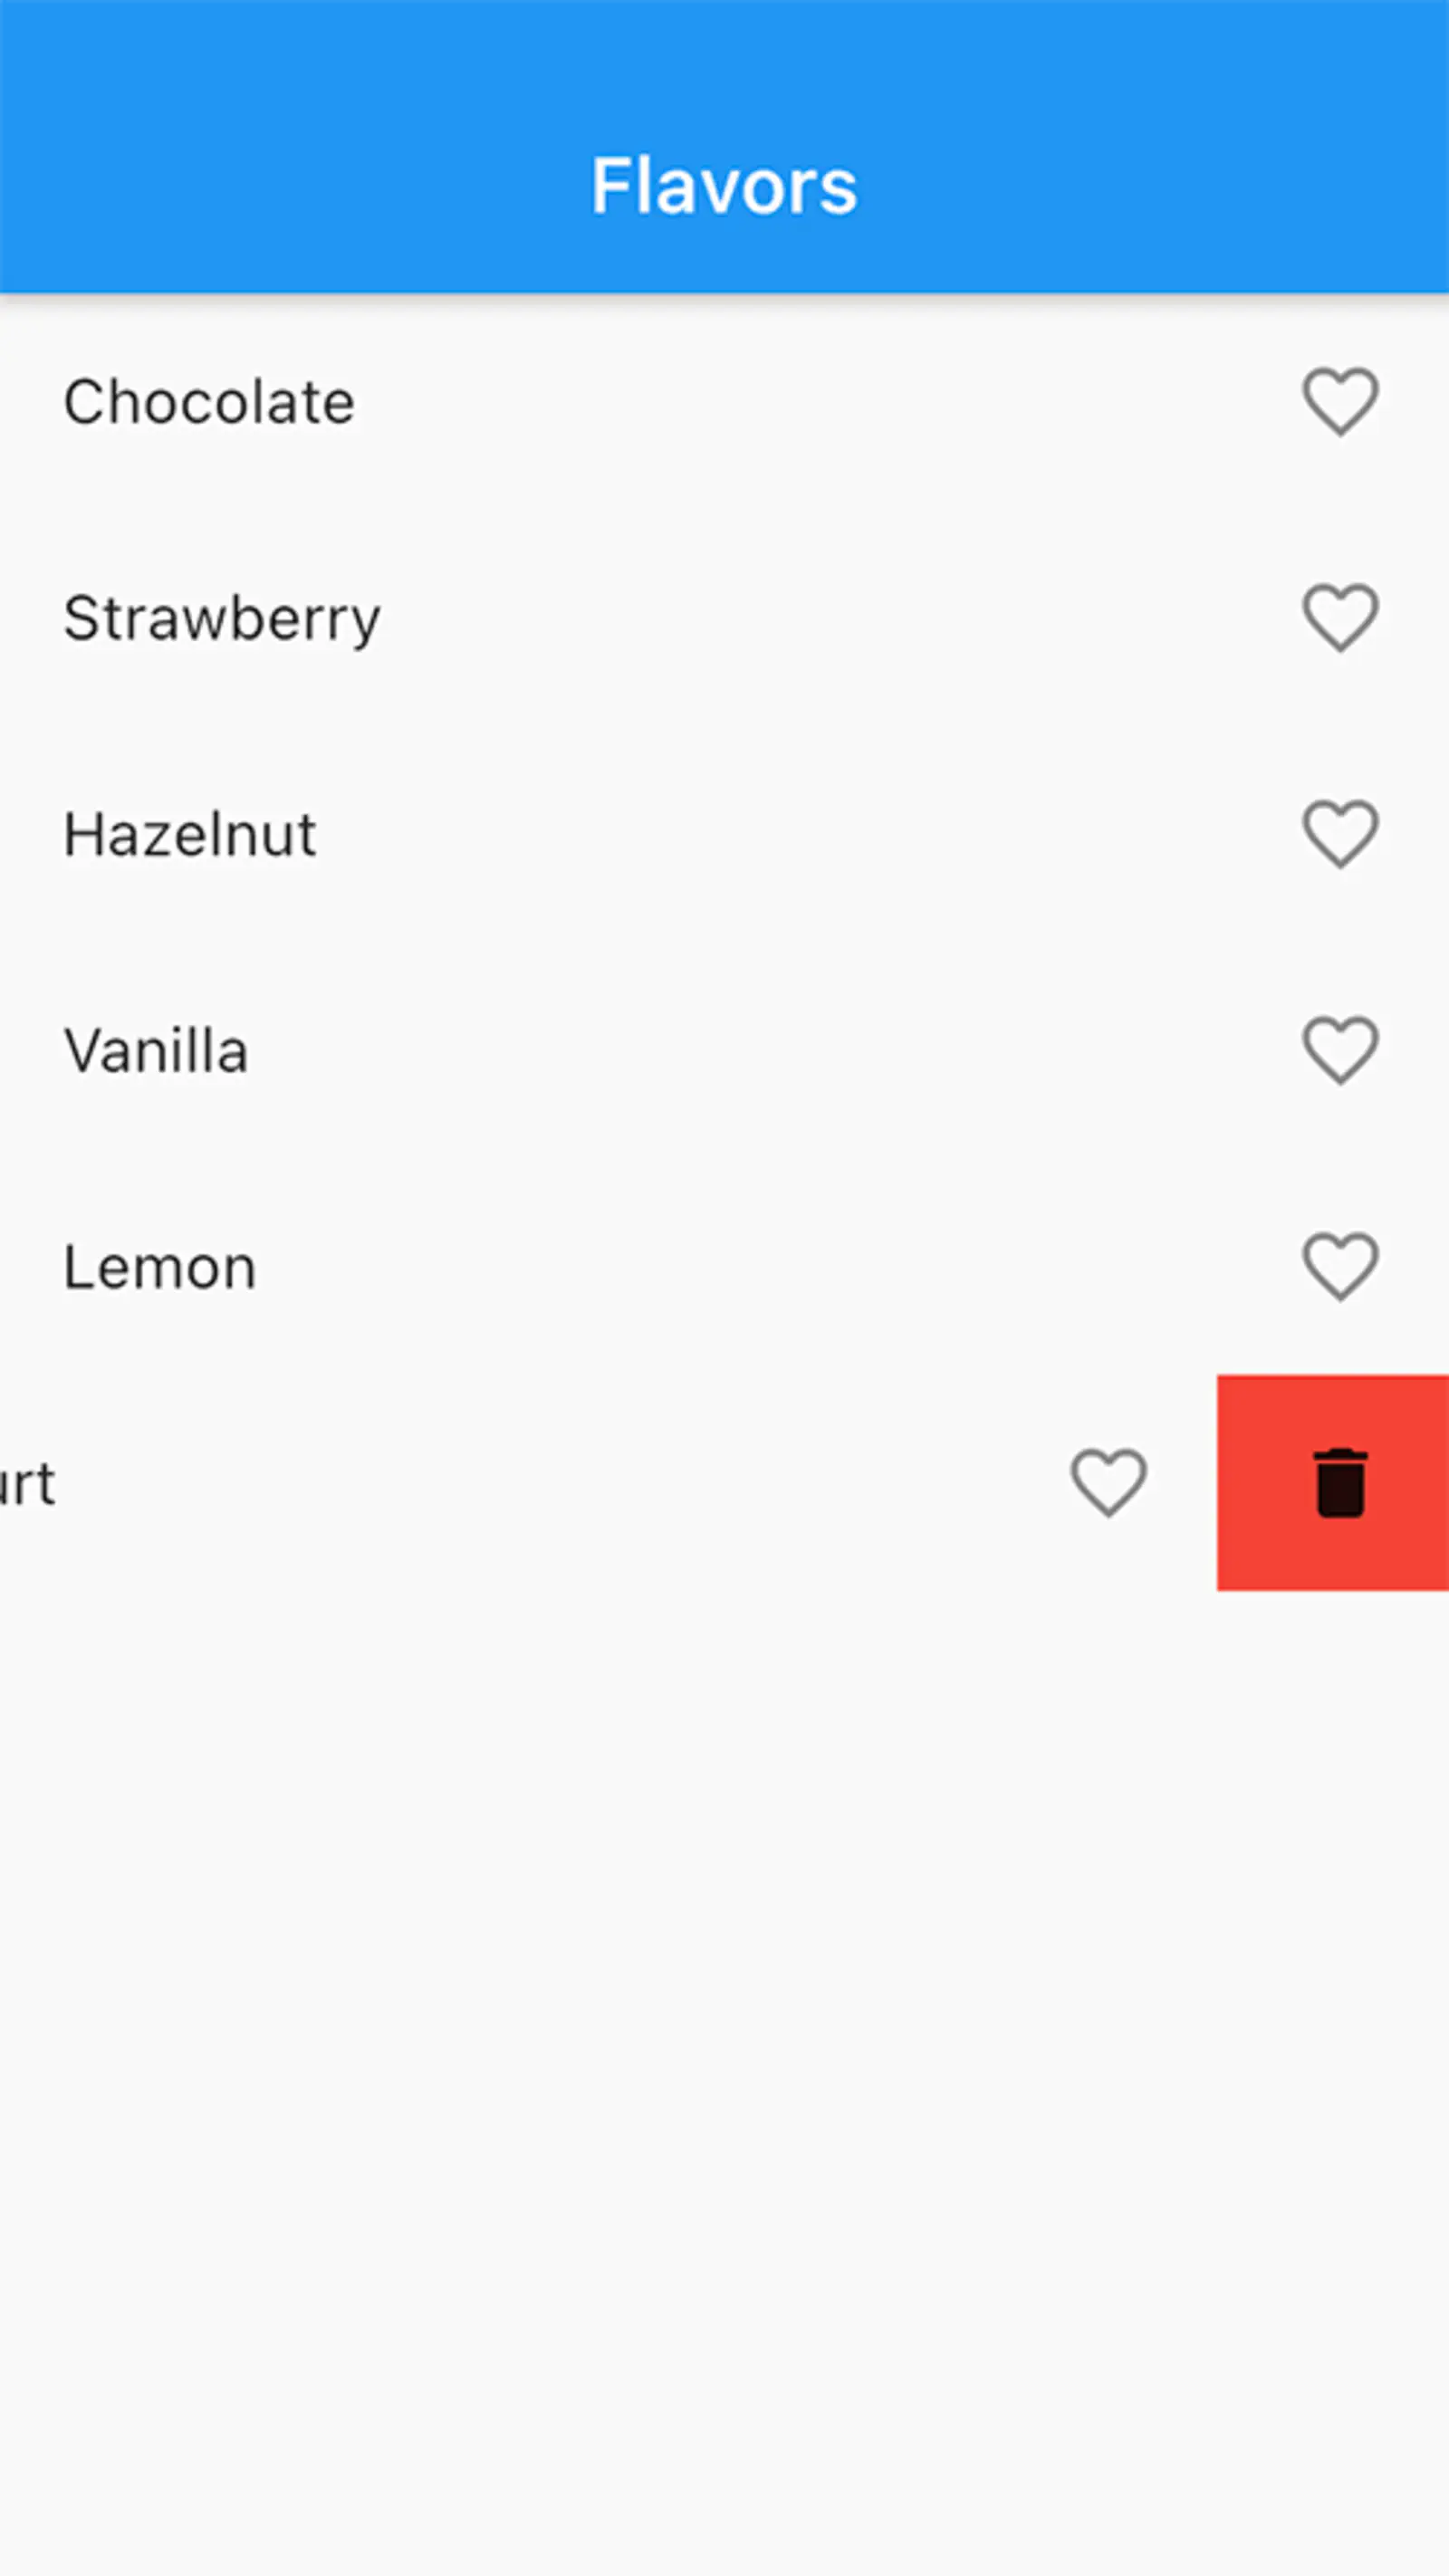
For this, we copy the Container we added to background and add it to secondaryBackground attribute for
Dismissible.
| |
We adjust the color to Colors.red, change the padding from left to right, replace the icon, and change the
alignment to centerRight.
When we swipe our item to the left side, we see that the secondaryBackground is used.
Next, we are going to extend the confirmDismiss callback. We add an else block to handle our delete action. Here, we
are going to show a SnackBar with a SnackBarAction. Let’s see what this looks like:
| |
First, in line 5, we add a variable to store our decision whether the item should be deleted.
In line 6 we use the ScaffoldMessenger to show a SnackBar and store the returned SnackBarController. We need
this instance later in line 12 to wait for the SnackBar to close.
The SnackBar contains a Text content (line 8) and defines a SnackBarAction (line 9). The action changes
the delete variable to false, indicating that the item should not be deleted.
After the SnackBar has been closed, we return the decision whether to delete the item.
Finally, we need to implement onDismissed to actually remove the item from our List, to match the state of the UI.
The callback should look like this:
| |
We ignore the callback parameter and replace it with _. We use the setState function to redraw our UI and remove the
item from the list.
Finally
The complete ListPage should now look like this:
| |
We used the Dismissible widget to create swipe actions to toggle the favorite state and to remove items. It allows us
to handle the gesture differently depending on the swipe direction. Furthermore, we can specify different background per
swipe direction.
To offer an undo action, we used a SnackBar with a SnackBar action.